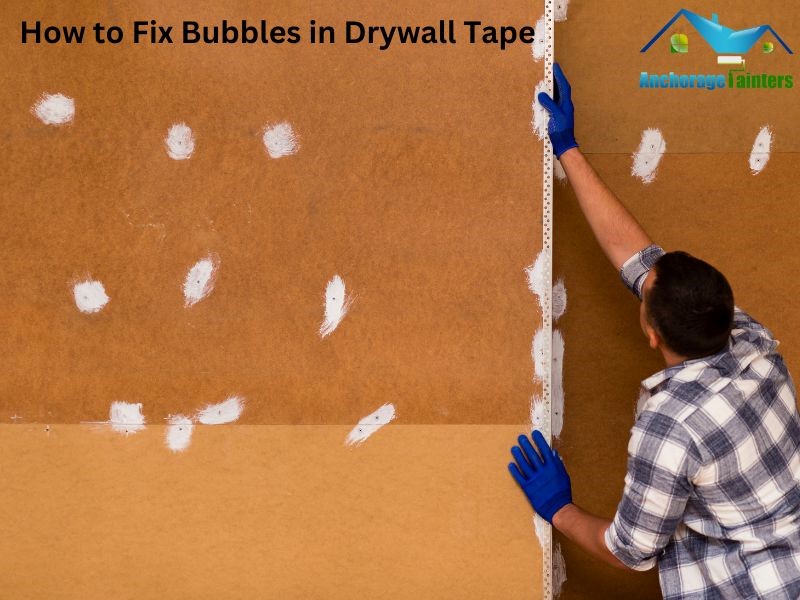
Have you ever noticed bubbles forming in your drywall tape? These annoying bumps can ruin the smooth look of your walls. But don’t worry, fixing bubbles in drywall tape is easy! You don’t need to be a professional to fix them, just follow these simple steps. We’ll walk you through everything you need to know on how to fix bubbles in drywall tape and make your walls look great again.
Step 1: Gather Your Tools and Materials
Before starting, it’s important to have everything you need in one place. Here’s a quick list of the basic tools and materials:
- A putty knife (preferably 6-inch or wider)
- Sandpaper (medium and fine grit)
- Drywall joint compound (also called “mud”)
- Drywall tape
- A utility knife or blade
- A sanding sponge
- A drywall primer and paint (optional)
Having these tools nearby will make the process smoother and faster. Once you have them all, you’re ready to get started!
Step 2: Cut Out the Bubbles
Now that you’re ready, let’s start by removing the bubbles in the drywall tape. Carefully cut around the bubble using a sharp utility knife or blade. Be gentle to avoid damaging too much of the surrounding area. You only want to remove the bubble or loose tape.
Once you cut it out, peel the bubble off the wall. If the tape is still stuck tightly in other places, leave it there. Only take out the loose, bubbly sections.
Step 3: Sand Down the Area
After removing the bubble, you’ll notice rough edges on the drywall. This is where you need sandpaper. Start with medium-grit sandpaper to smooth out the area where the bubble was. Sanding helps get rid of rough spots and makes the wall smooth.
Once the area is smooth, switch to fine-grit sandpaper for a smoother finish. Be careful not to over-sand the wall, as this can damage it further.
Step 4: Apply New Drywall Tape and Compound
Now that the area is prepped, it’s time to reapply the drywall tape. First, spread a thin layer of drywall joint compound over the spot where you removed the bubble. You can use your putty knife to do this. Make sure the layer is thin and even.
Next, place a new piece of drywall tape over the compound. Press the tape down firmly, so it sticks well. Use your putty knife to smooth out the tape, ensuring there are no new bubbles. Then, apply another thin layer of joint compound over the tape, completely covering it. This will help the tape blend into the wall.
Step 5: Sand and Finish
Once the joint compound is dry, it’s time for one last round of sanding. Start with the medium-grit sandpaper again to smooth out any bumps. Then, use fine-grit sandpaper to achieve a clean, polished look. Take your time during this step—sanding is what makes the wall look smooth and flawless.
After sanding, you may want to apply a coat of drywall primer to prepare the wall for painting. Once primed, paint over the area to match the rest of the wall.
Now your wall should look good as new, without any annoying bubbles!
Why Do Bubbles in Drywall Tape Happen?
You might wonder, “Why do these bubbles form in the first place?” How to fix bubbles in drywall tape is a common concern for homeowners because it can happen for a few reasons:
- Too Much or Too Little Compound: Applying too much or too little joint compound under the tape can cause it to bubble.
- Poor Adhesion: If the tape wasn’t pressed down properly, it may lift off the wall and form bubbles.
- Temperature or Moisture: Extreme temperatures or moisture in the air can sometimes cause drywall tape to lift and form bubbles.
By taking your time and following the steps, you can avoid these common problems.
Tips for a Smooth Repair
- Take Your Time: Don’t rush the process. Let each layer of compound dry fully before moving on to the next step. Rushing can lead to more bubbles.
- Use a Wide Putty Knife: Using a wider knife (6-inch or 8-inch) helps spread the joint compound evenly and prevents creating new bubbles.
- Keep Your Tools Clean: Make sure your tools, especially the putty knife, are clean. Dirty tools can leave bumps or ridges in the compound.
Expert Advice on Fixing Drywall Tape
According to experts in home improvement, proper preparation is key to preventing issues like bubbles. Ensuring the wall surface is clean and applying even pressure when placing the tape can make all the difference.
Home repair specialists from This Old House recommend using mesh drywall tape for easier application and better adhesion. Mesh tape is less likely to bubble because it allows joint compound to flow through and stick better to the wall.
The U.S. National Library of Medicine explains that controlling the humidity in your home can also help prevent bubbles. Drywall tape can sometimes lift due to moisture, so keeping your home’s humidity levels balanced is essential.
Conclusion
Fixing bubbles in drywall tape doesn’t have to be difficult. With the right tools and a little patience, you can make your walls look smooth and professional again. Follow these five simple steps—cut, sand, tape, apply compound, and finish—and you’ll be amazed at the results.
If you need further help or professional assistance, Best Anchorage Painters in Anchorage is here for you. We’re experts at drywall repair, and we can help with any home maintenance needs you might have. Contact us today for a consultation and let us take care of your home!
This guide should help you understand how to fix bubbles in drywall tape easily. By following each step, you can save yourself time and money while making your home look great again. Remember, patience is key, and with a bit of effort, you’ll achieve professional-looking results!